Technical
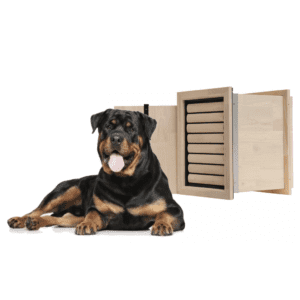
How to install a dog door or cat flap in the wall
Tomsgates has been installing dog and cat flaps in doors and walls since 2014. In this article, we show you the steps for installing a dog flap in the wall. And we share useful tips 💡so you can avoid some common mistakes!
We show an example installation in a modern brick wall finished with insulation and roughcast. This method also applies to brick facades, panel facades, stacked stone, precast concrete, Trespa, load-bearing walls and more. View the photos page for more installed dog and cat flaps.
The best spot in the wall for a dog door or cat flap
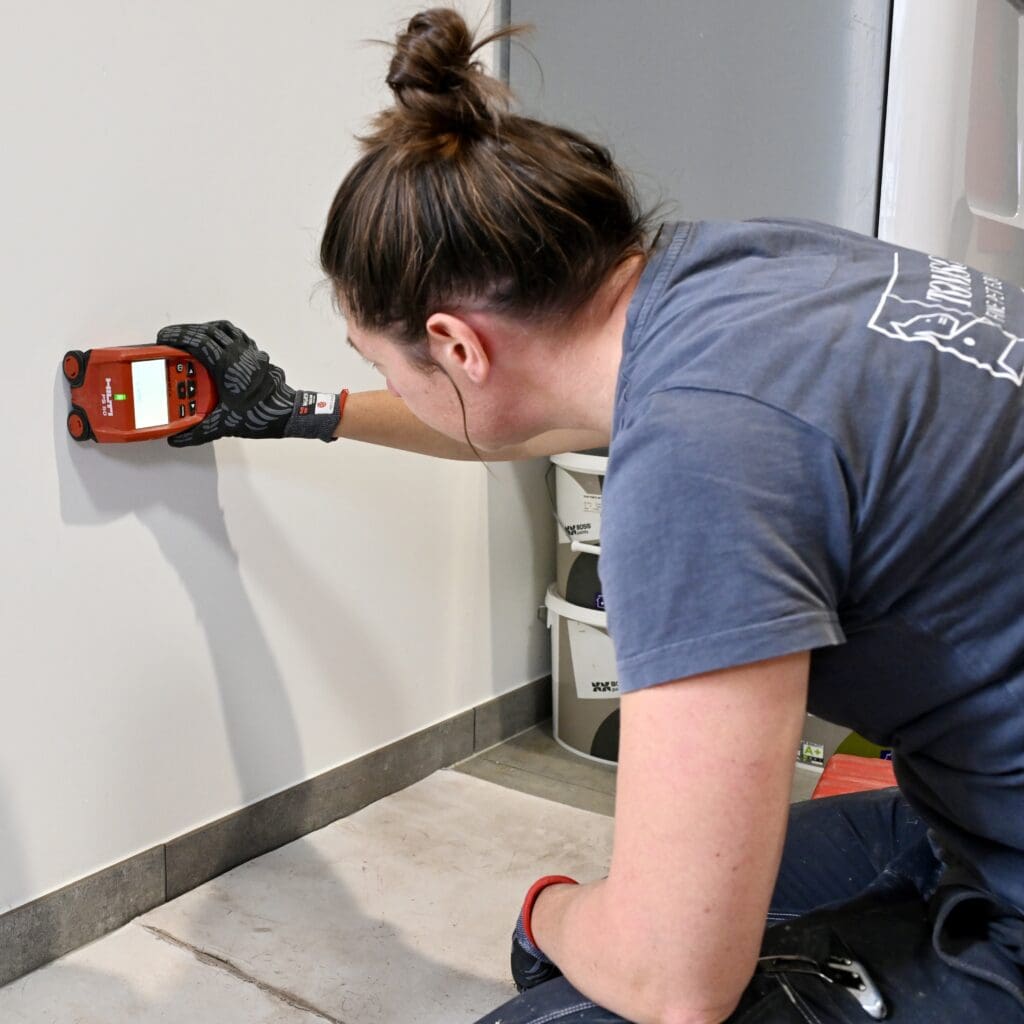
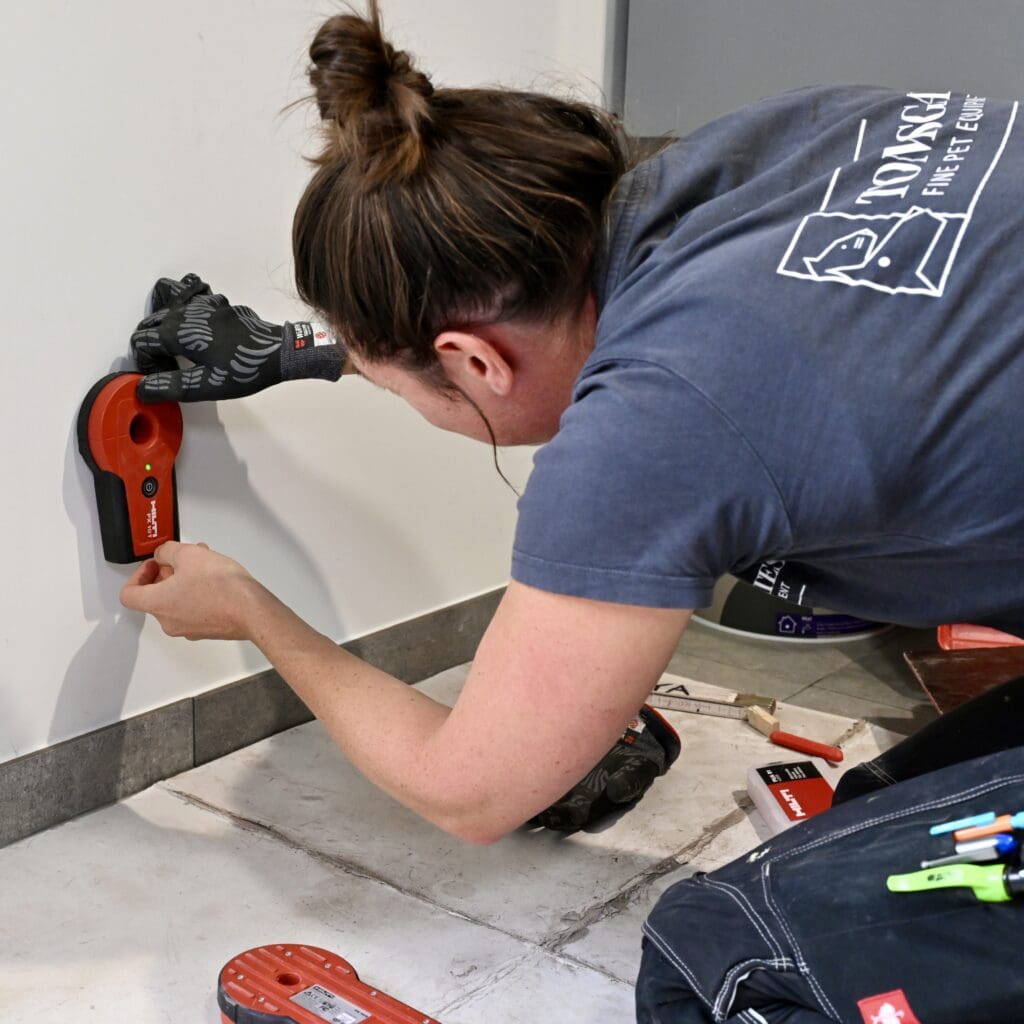
Step 1: Locate pipes in the wall
Pipes run from top to bottom, so place the cat flap or dog door next to, not under, switches, taps, sockets, etc. Use a detector and stay cautious, as this rule is not always being followed 🥴.
💡 A scanner detects electrical cables better when there is power flowing through them. So switch on the light, plug in a vacuum cleaner, etc.
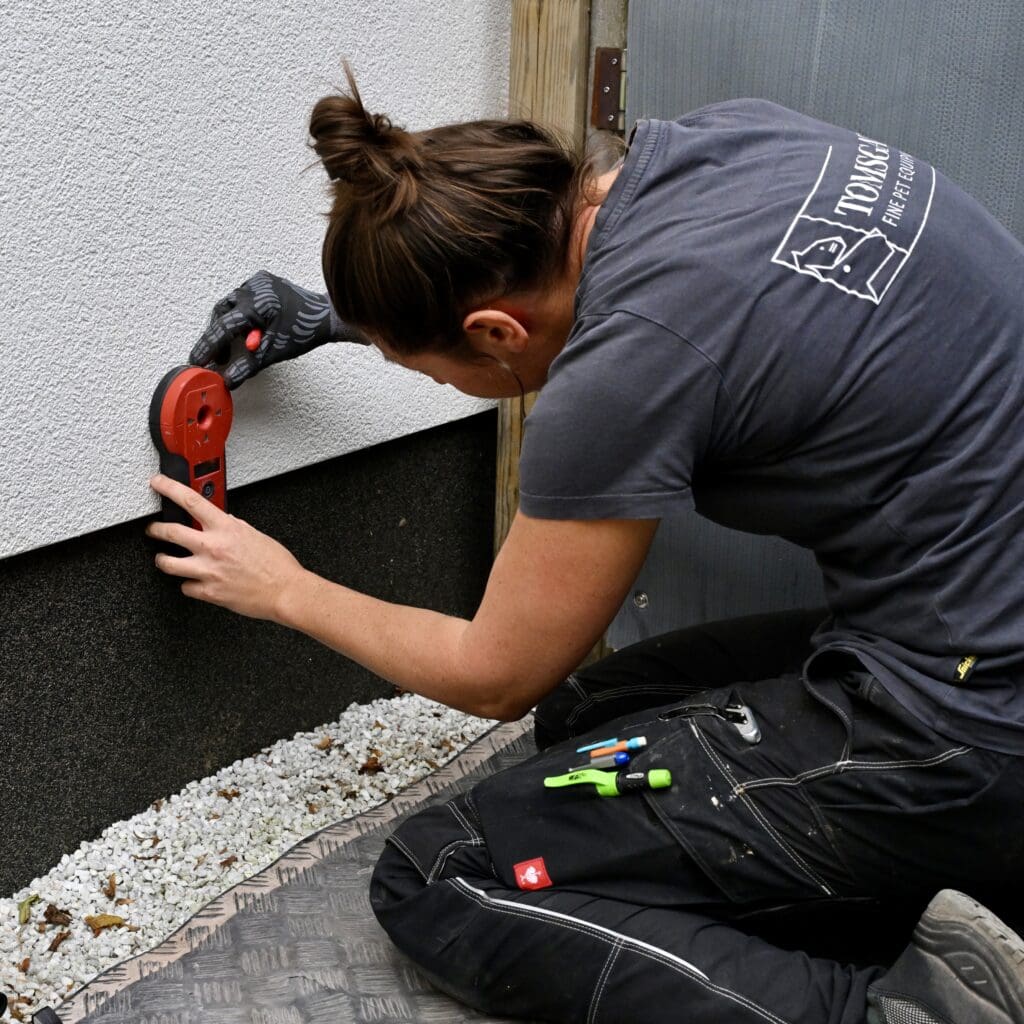
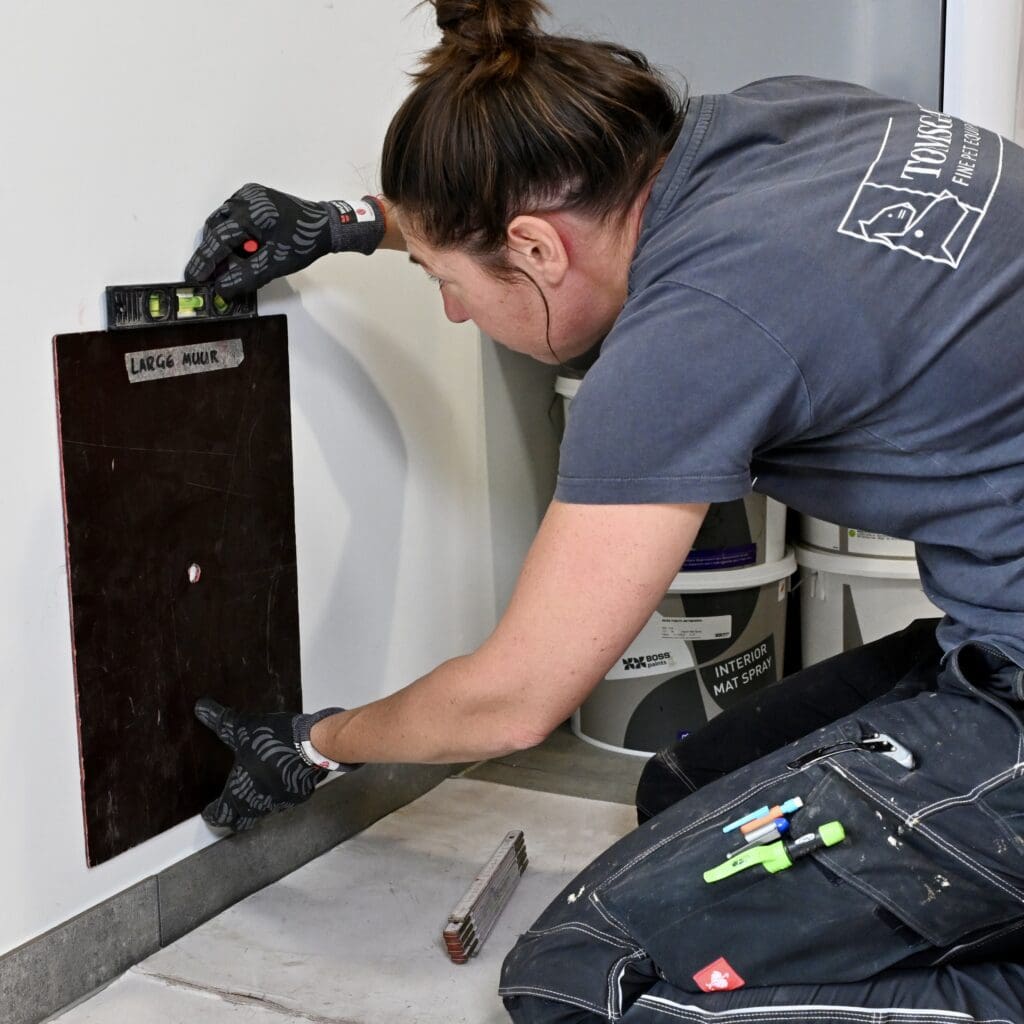
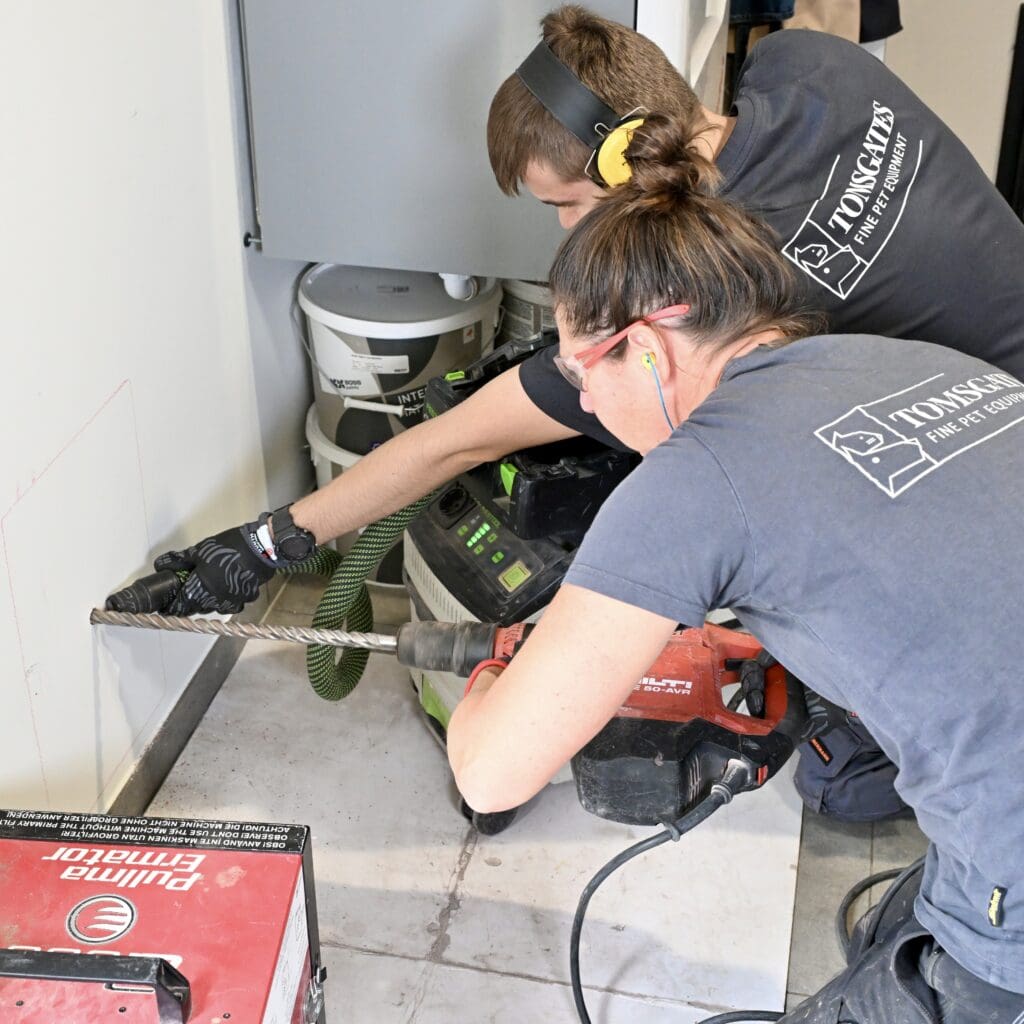
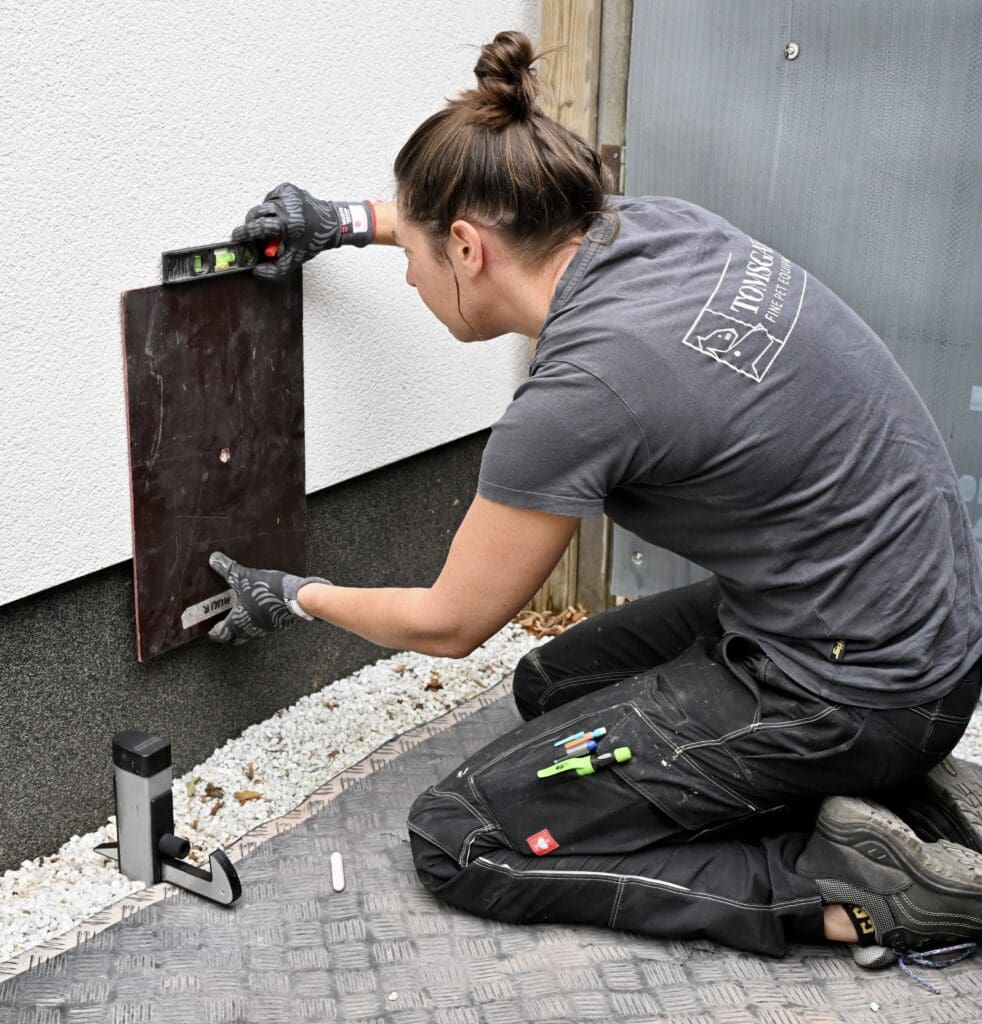
Step 2: Mark the interior wall and drill through to the outside
Use the cardboard installation template provided to mark the centre of the hole; in case of minor shifts, the drilled hole will remain within the area that needs to be broken out. To drill through, use a 40 cm long drill bit or a transpointer.
💡 Take into account that the floor outside may be lower. If the step up to the pet door is too high for your dog or cat, you can make a step using patio tiles, a flower pot or a small beam.
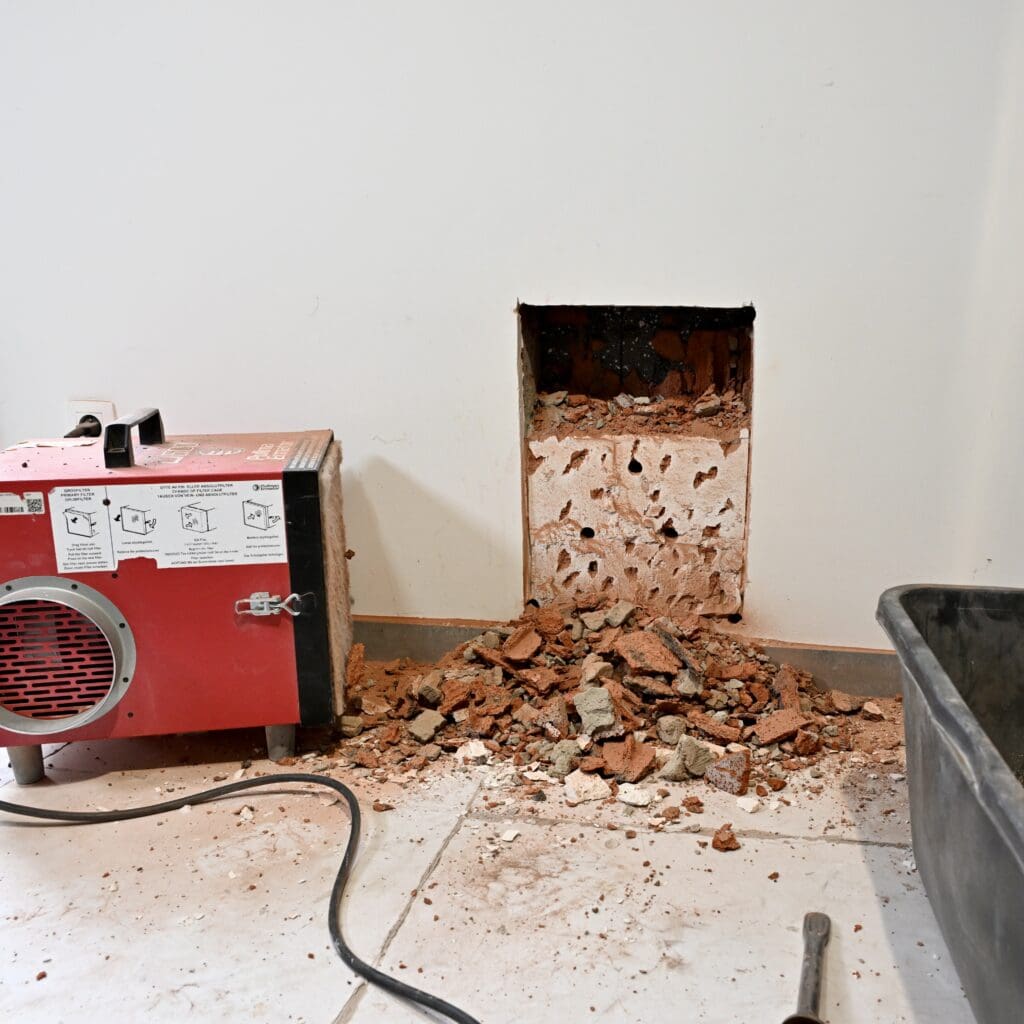
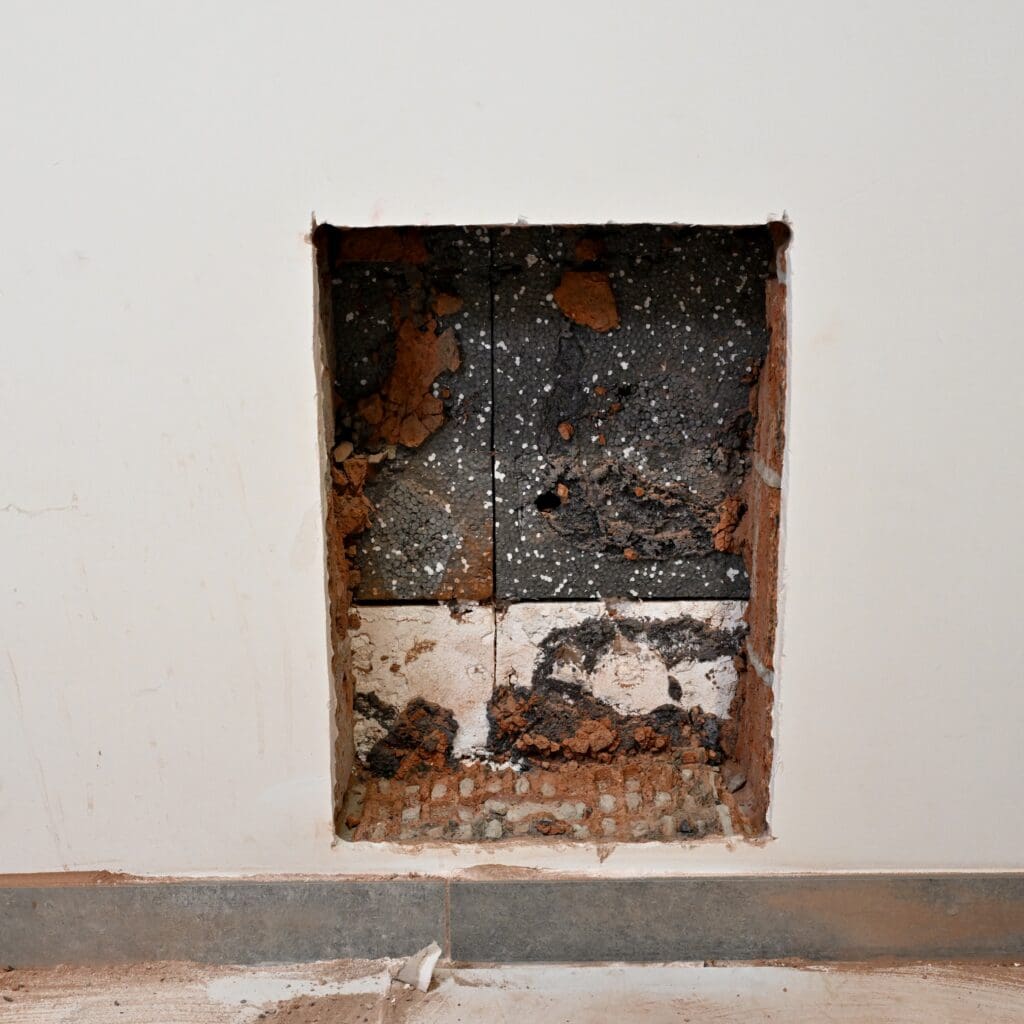
Making the hole in the wall
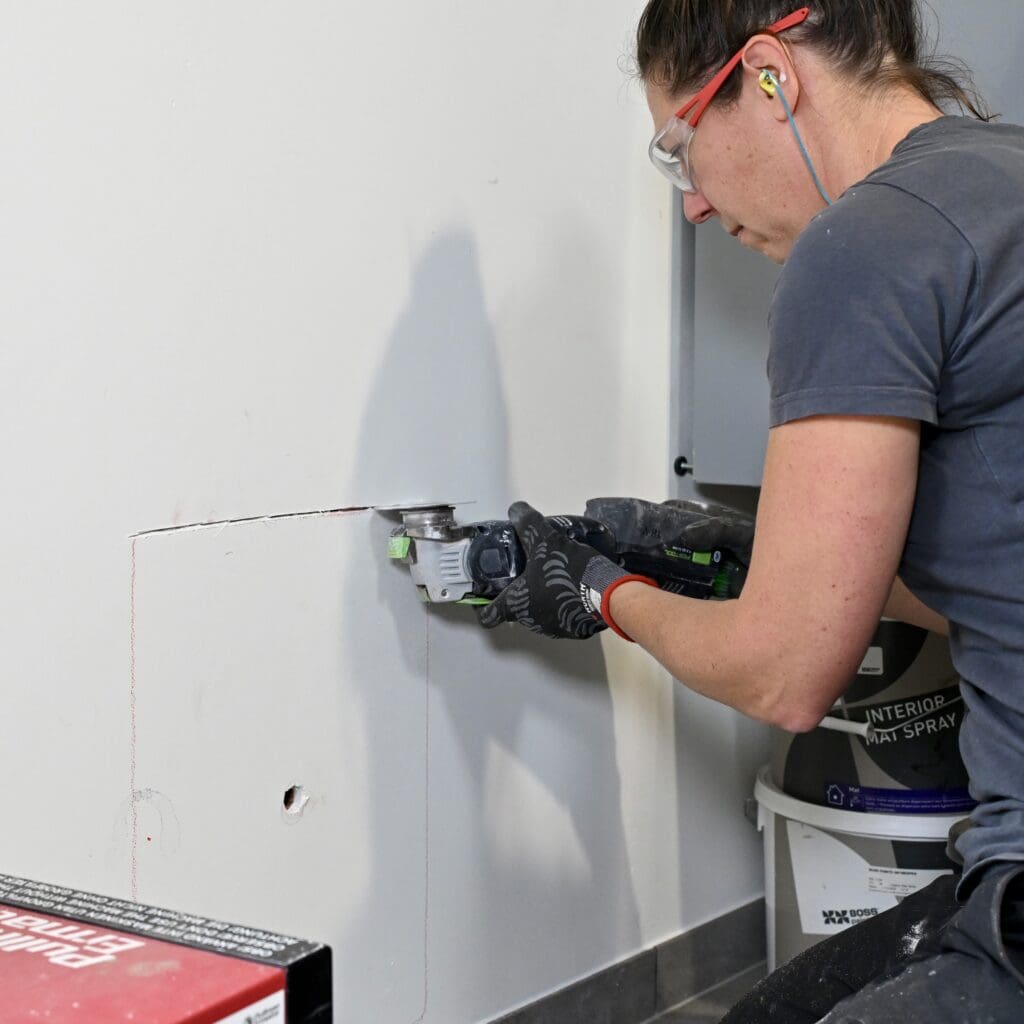
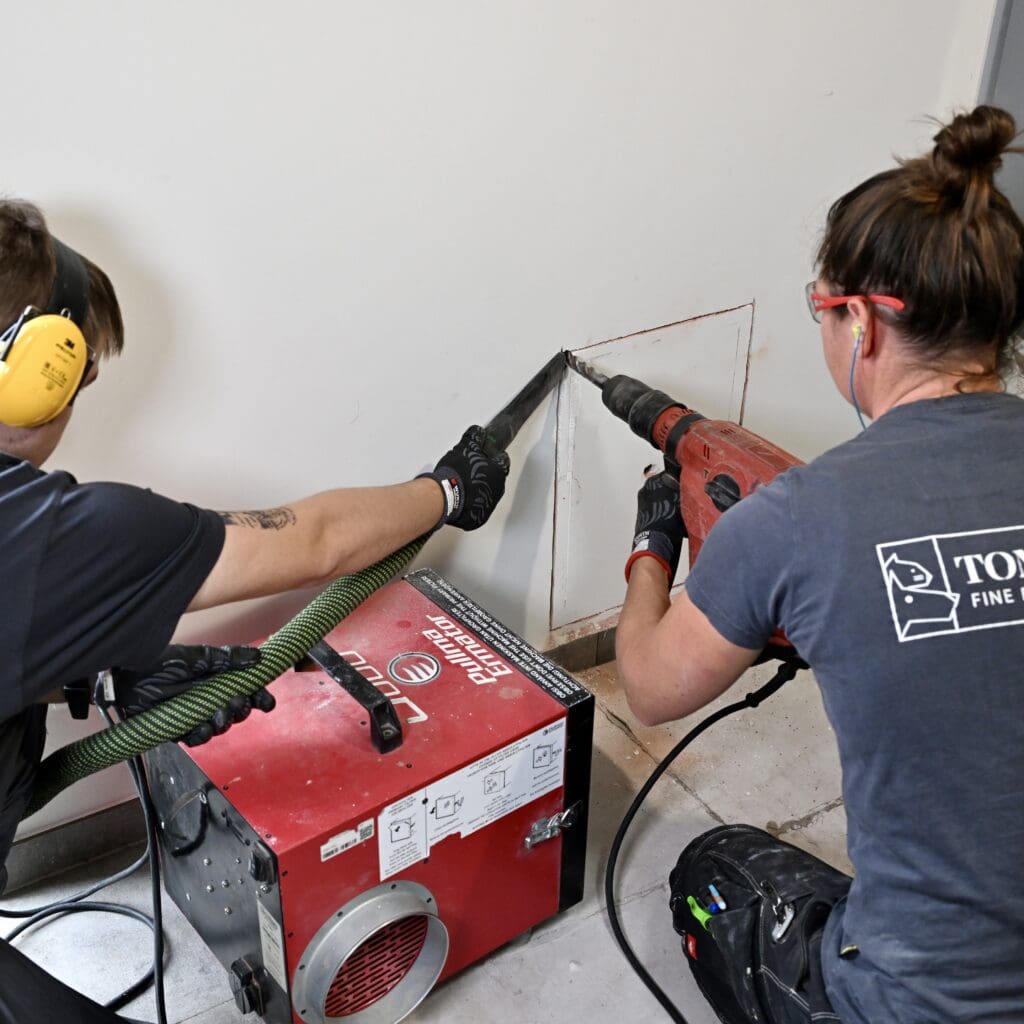
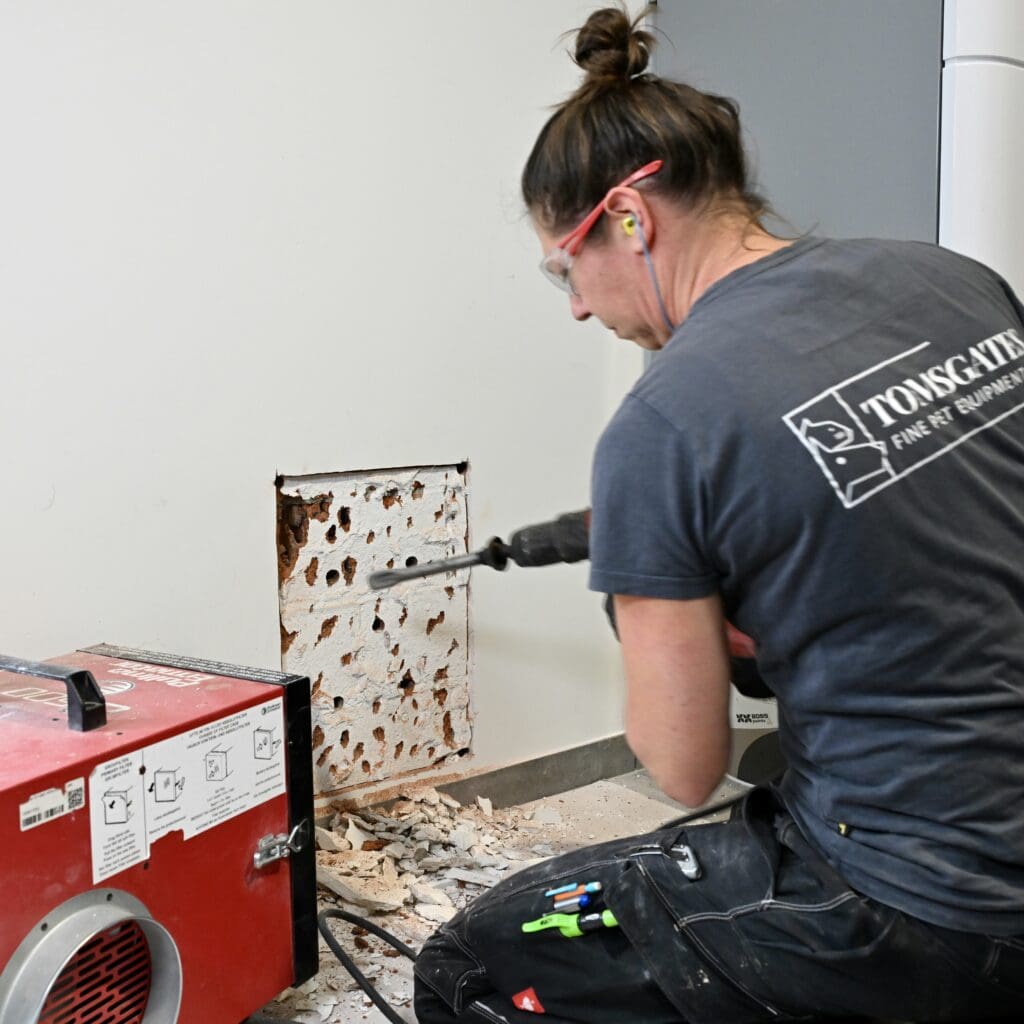
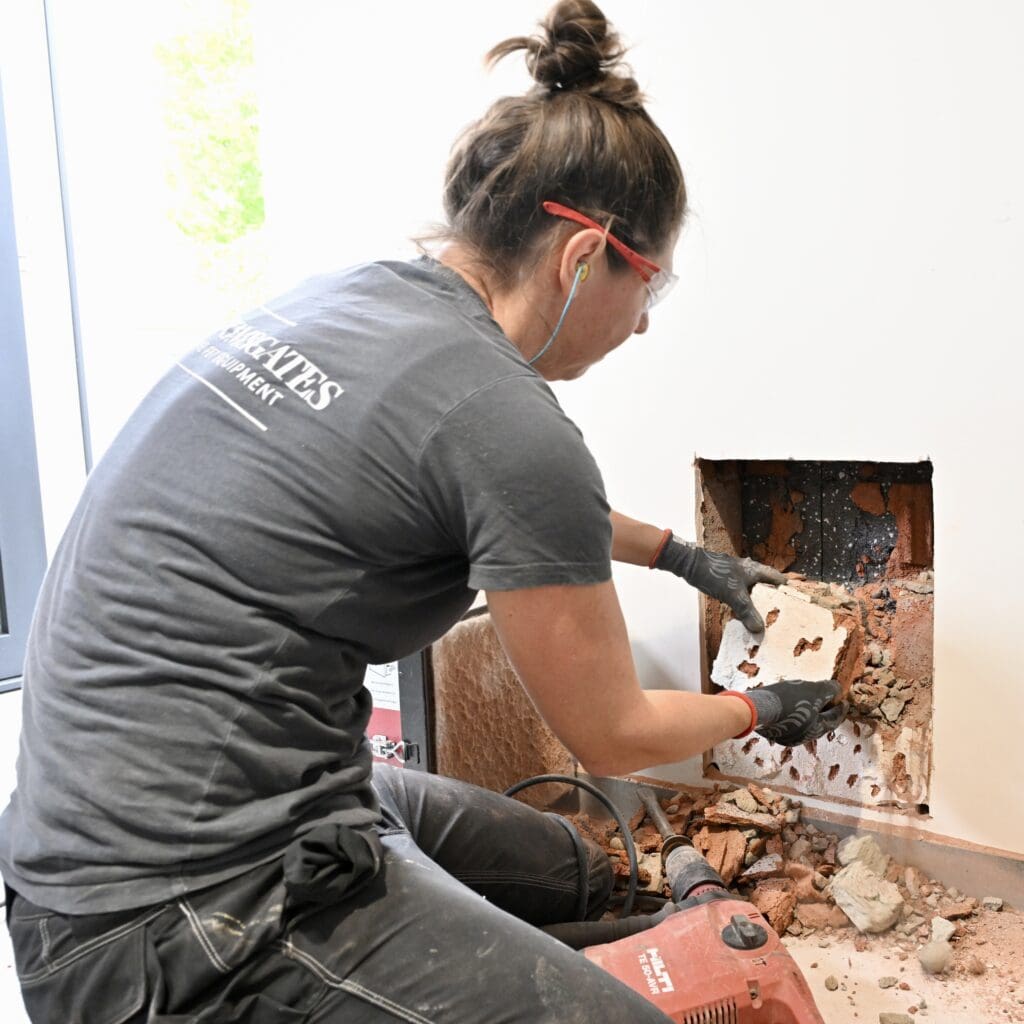
Step 3: Making the hole in the interior wall
Start with the interior wall because if you encounter anything unexpected, the hole can be moved before anything has happened to the exterior façade.
Work sequence: cut into the plaster or stucco with a multi-tool (do not use a grinding disc!), drill into the corners, remove the stucco to reveal the joints, remove the top row of bricks and chip away the bricks underneath by chiselling the joints.
💡Allow for 1 cm of clearance around the tunnel if the door is secured with PU mounting foam.
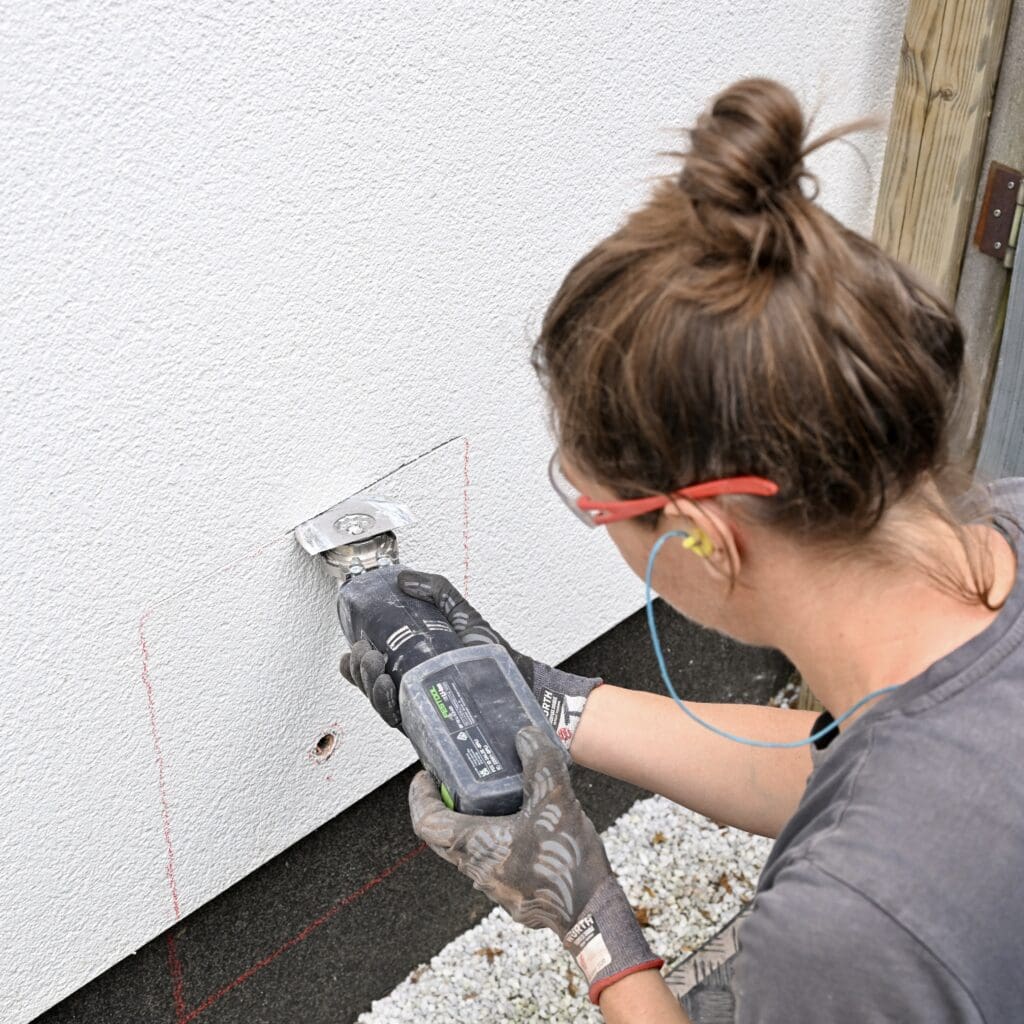
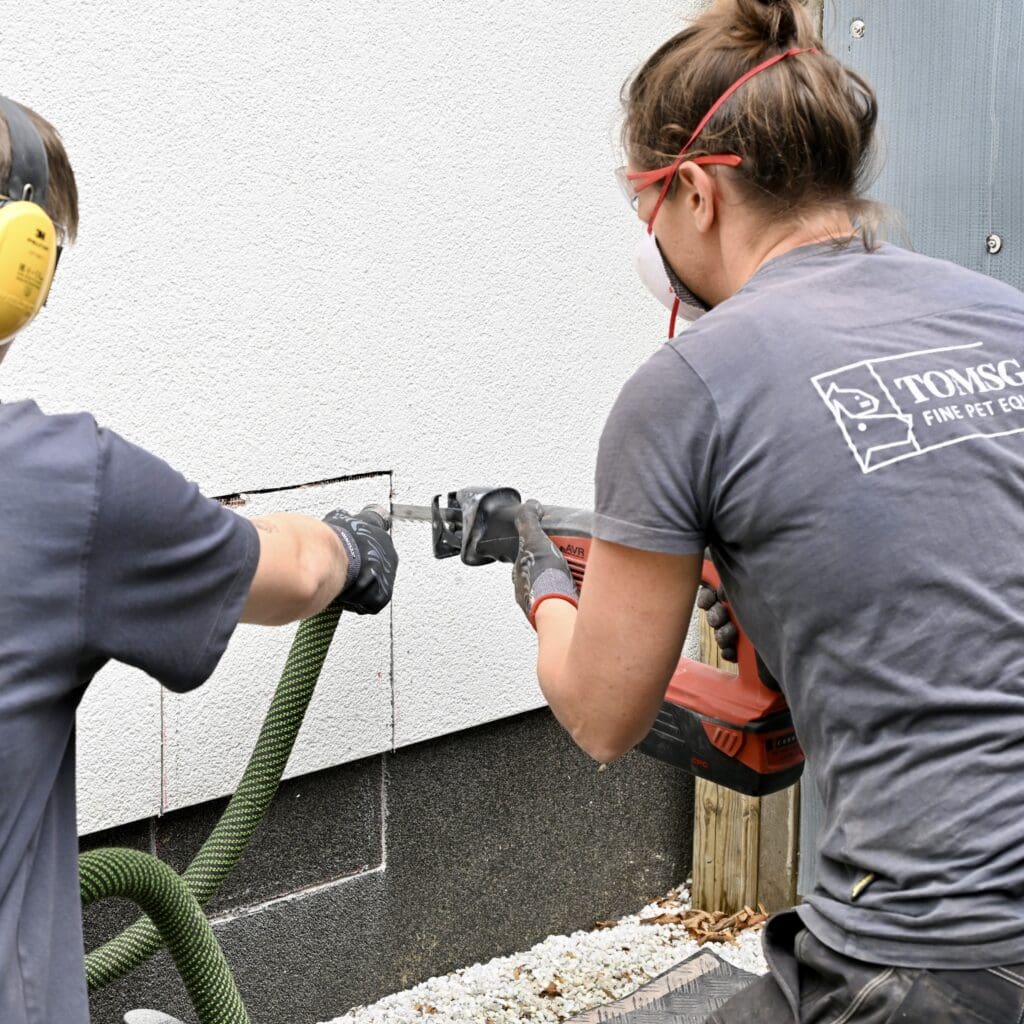
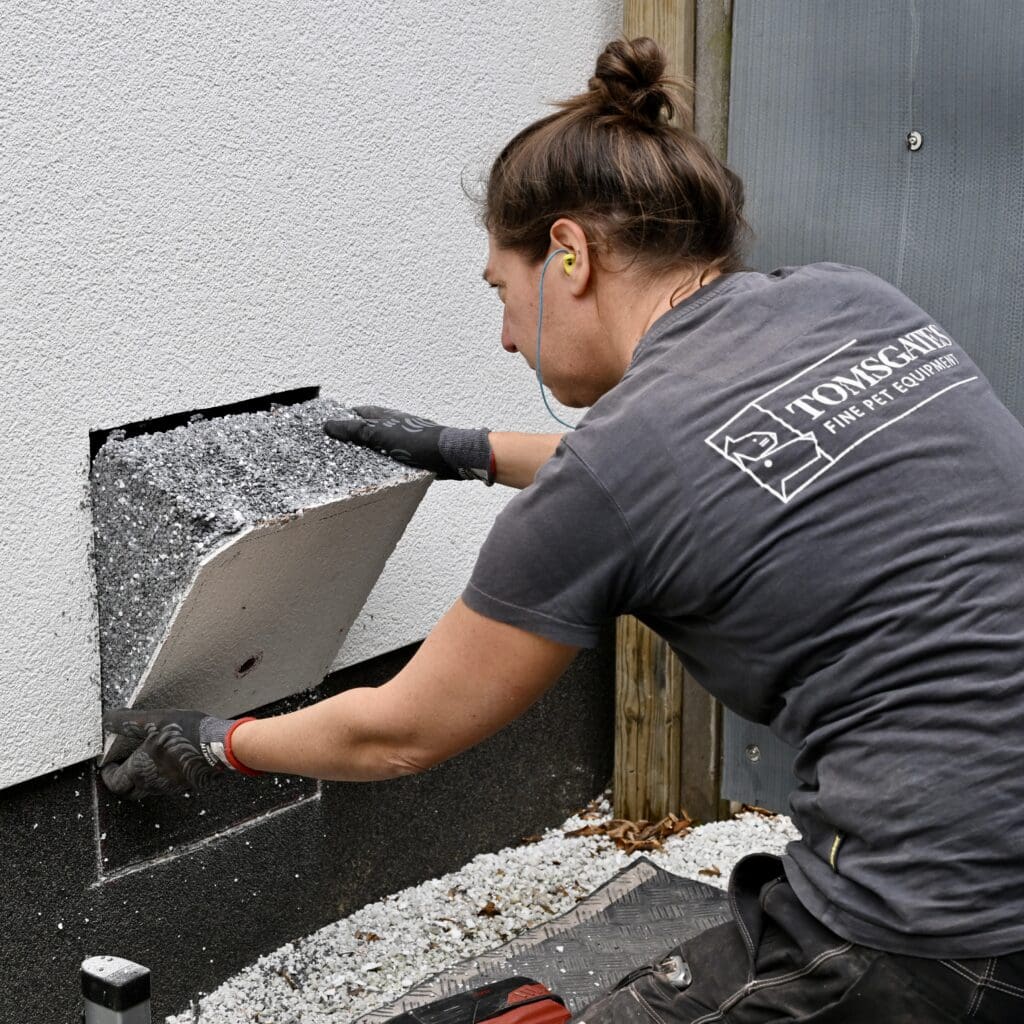
Step 4: making the hole in the outer wall
Same sequence of work: grind the exterior façade, grind, drill corners, remove the top row of bricks and loosen the underlying bricks by chiselling the joints.
Installing the dog flap or cat flap in the wall
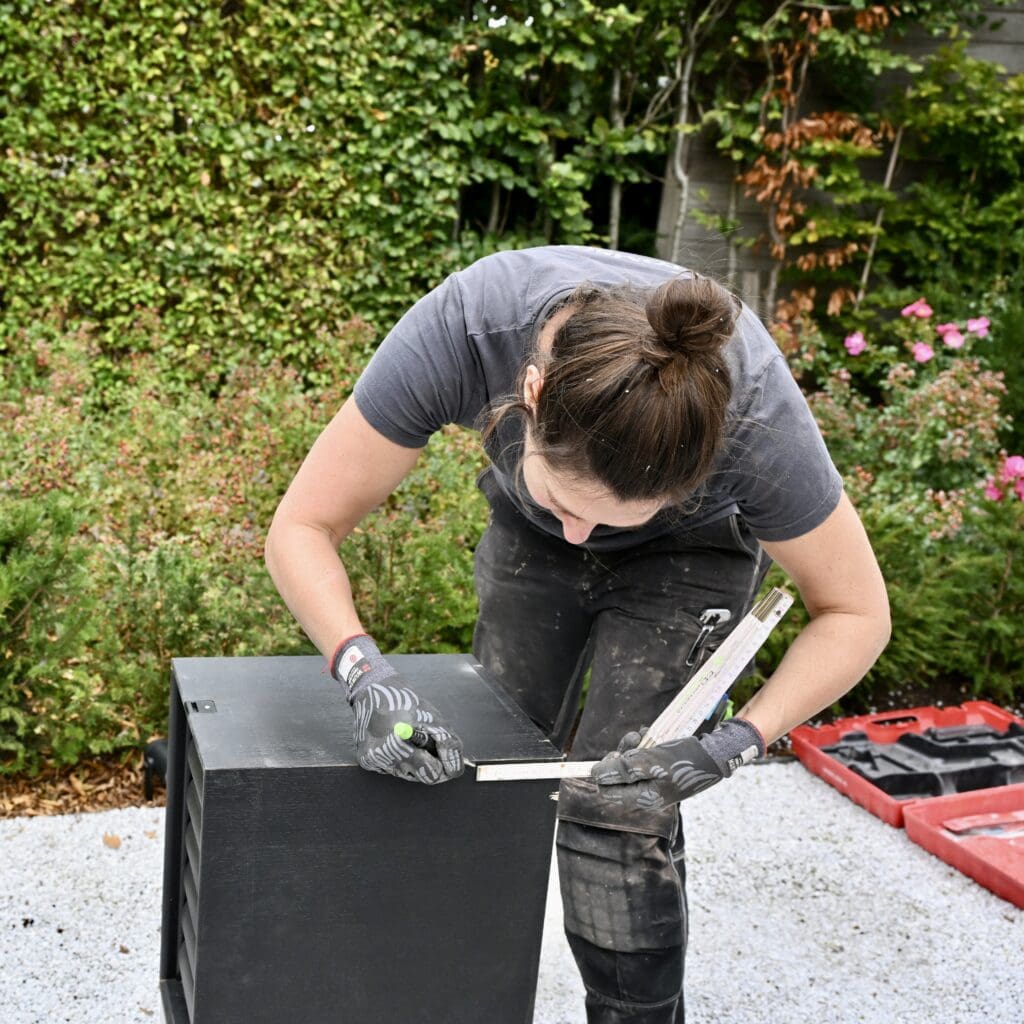
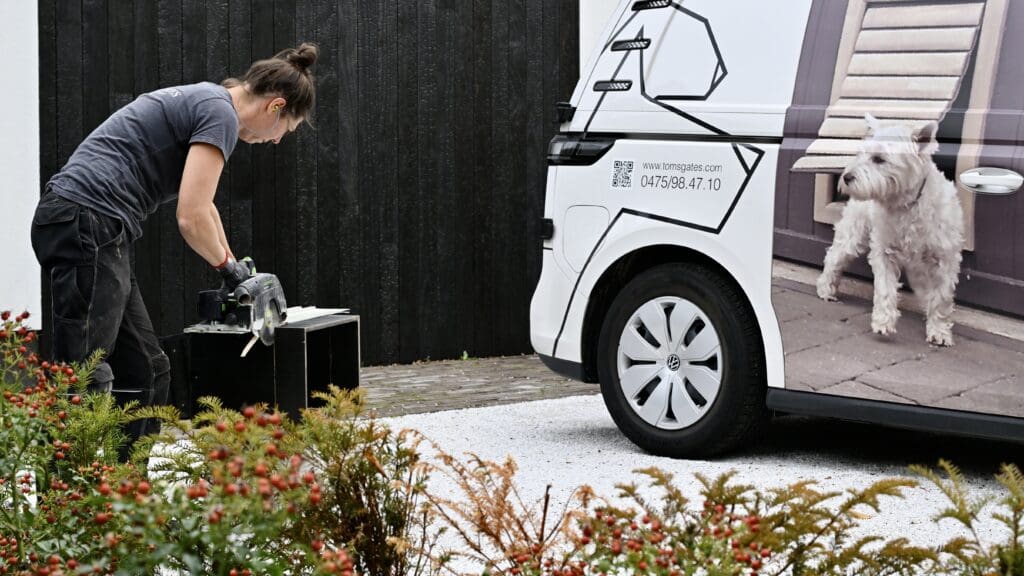
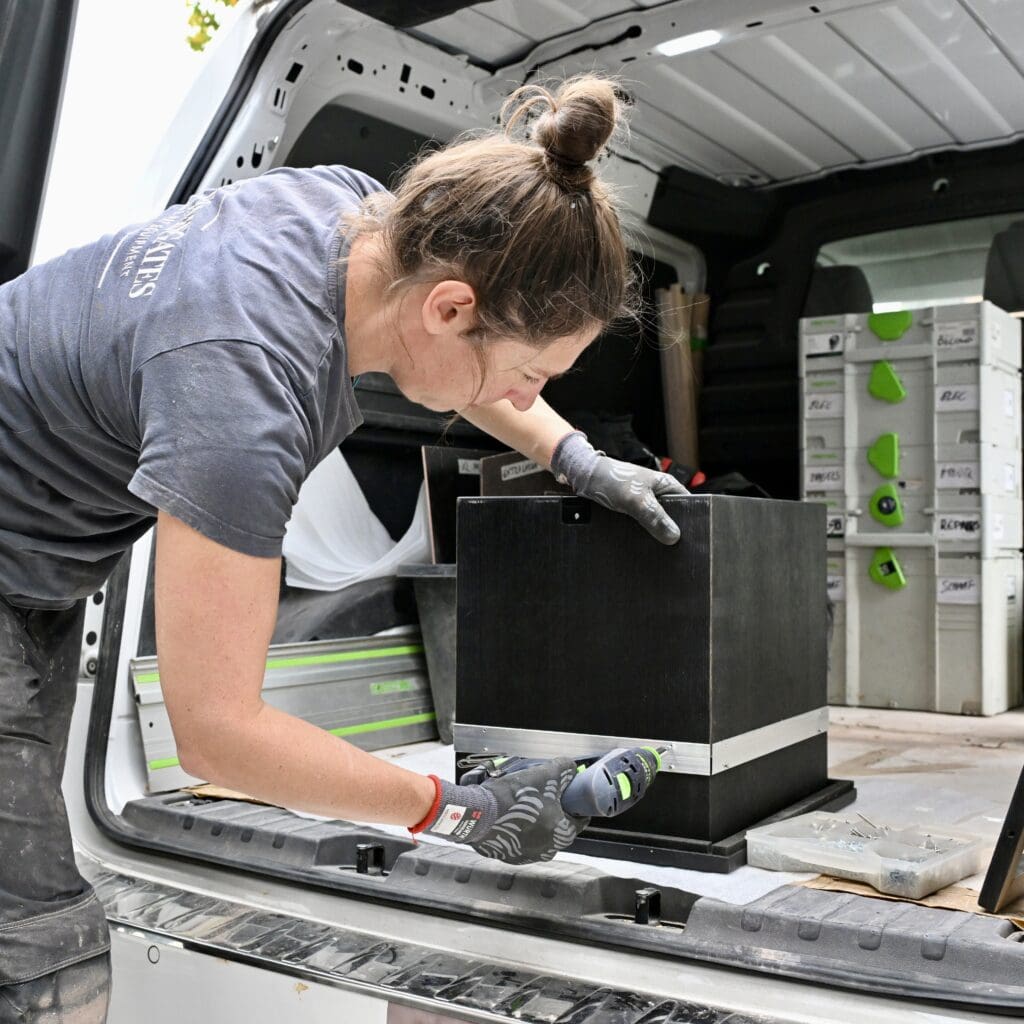
Step 5: cutting the tunnel to size
Only once the hole in the wall has been made can you measure the exact thickness of the wall in order to make the tunnel the right length. Follow the instructions on the tunnel panels and on this page on the website.
💡You do not need to finely finish the saw cut you make because it will be invisible after installation.
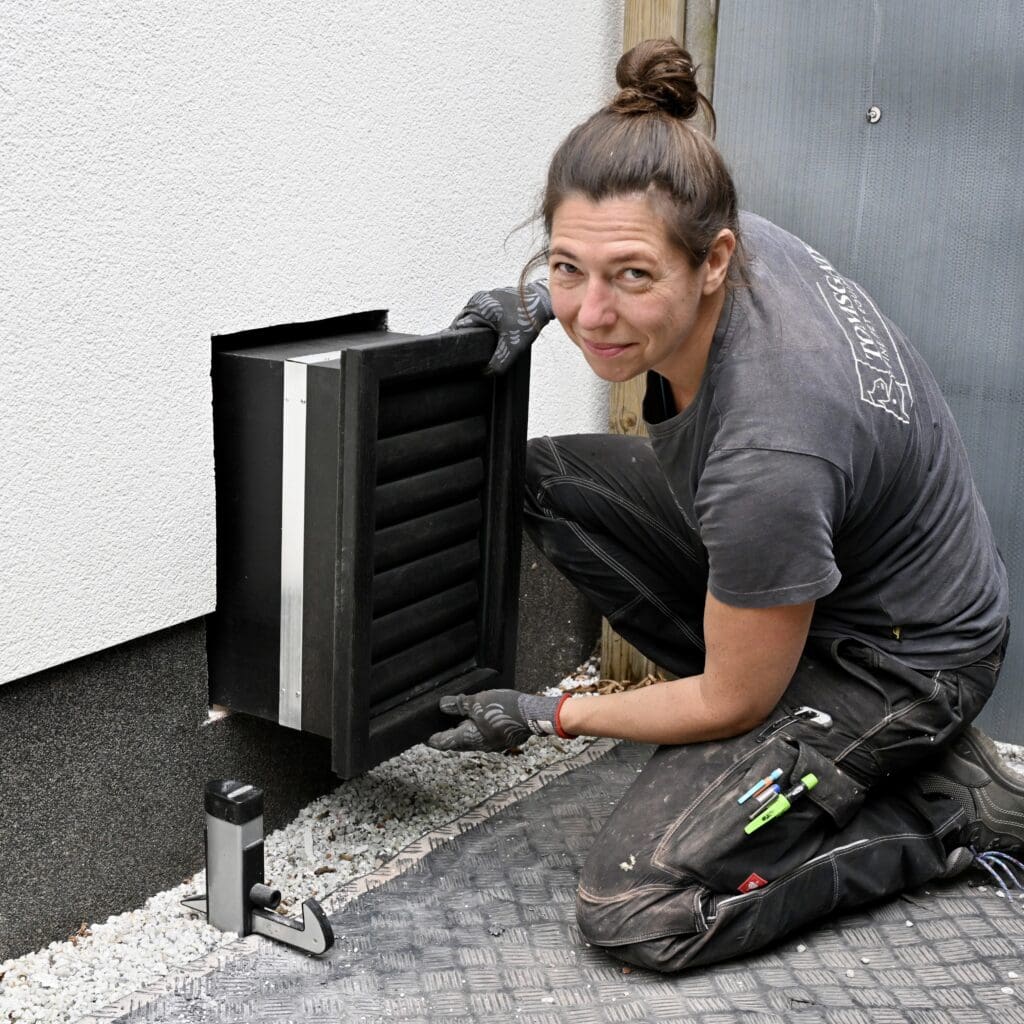
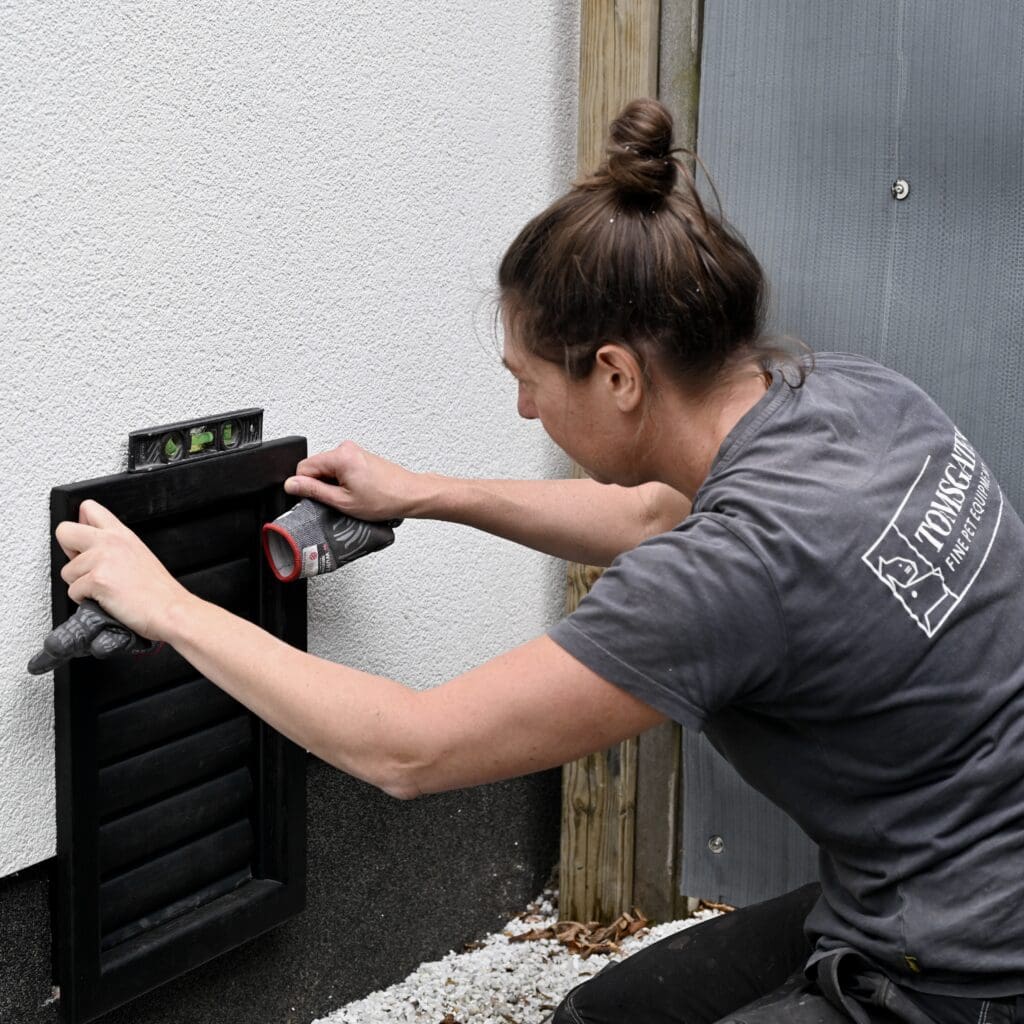
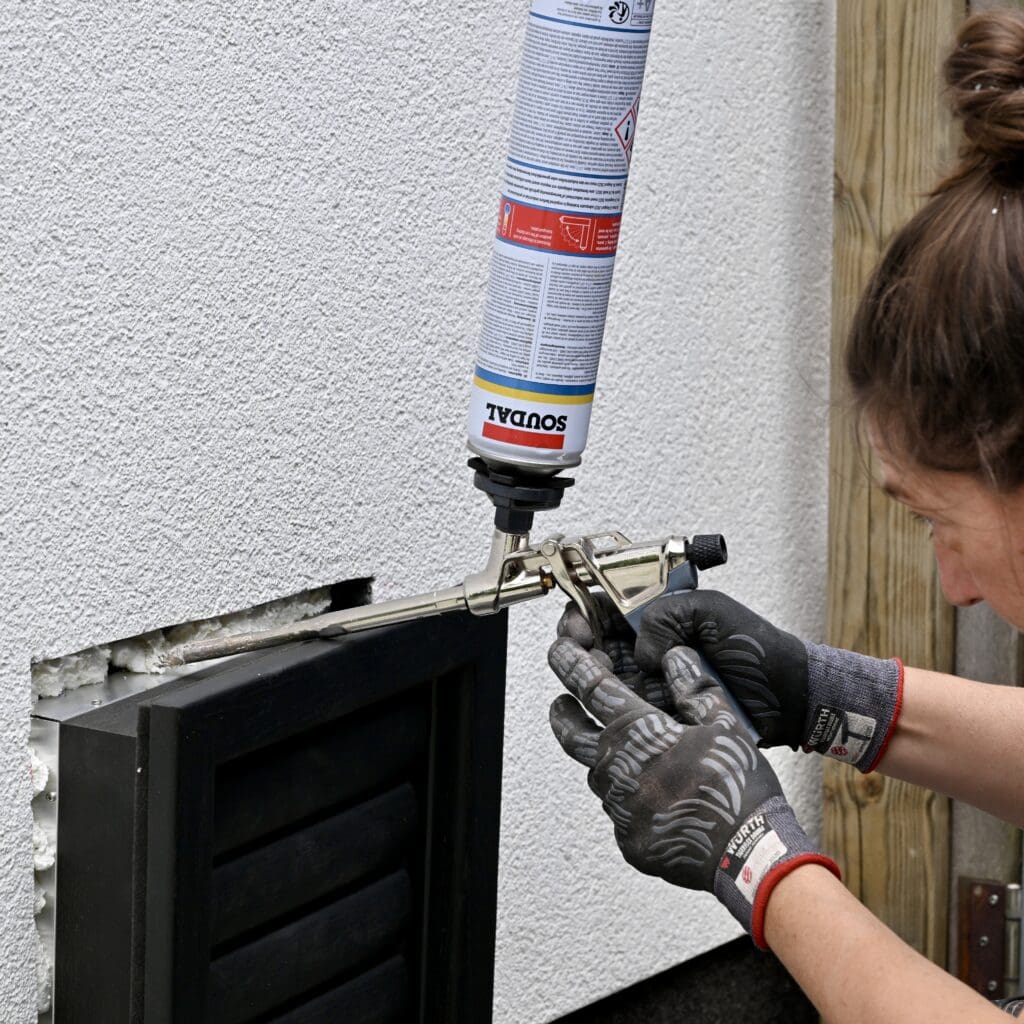
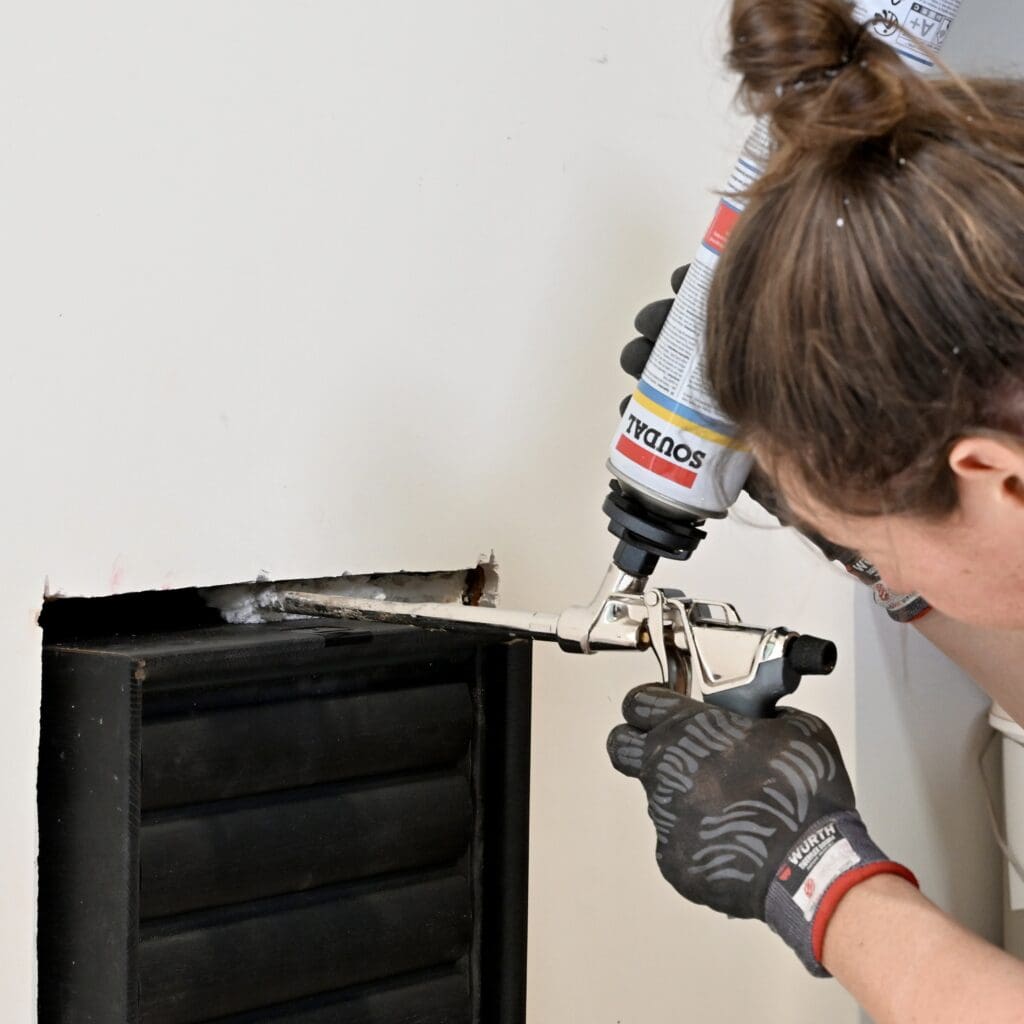
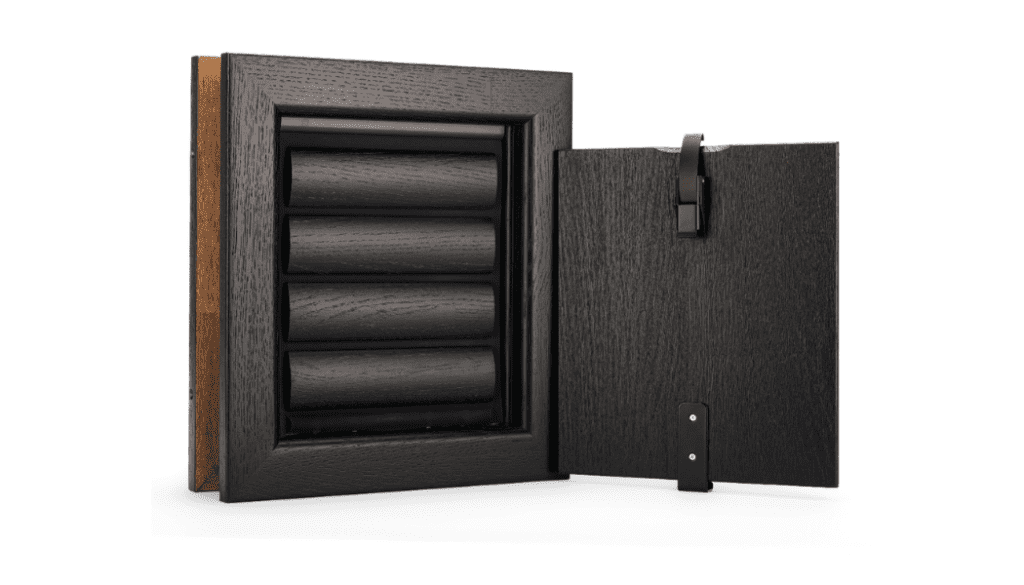
Step 6: Install the cat flap or dog flap in the wall and seal it
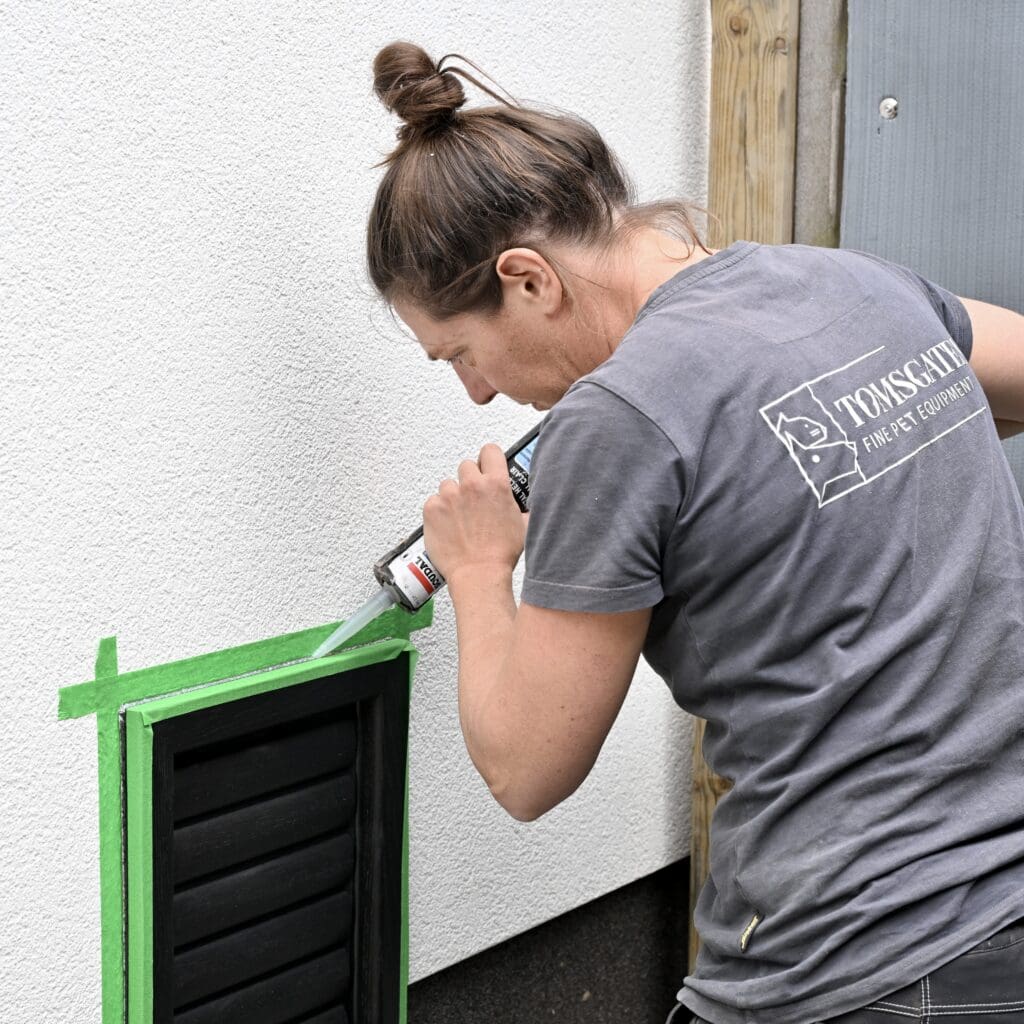
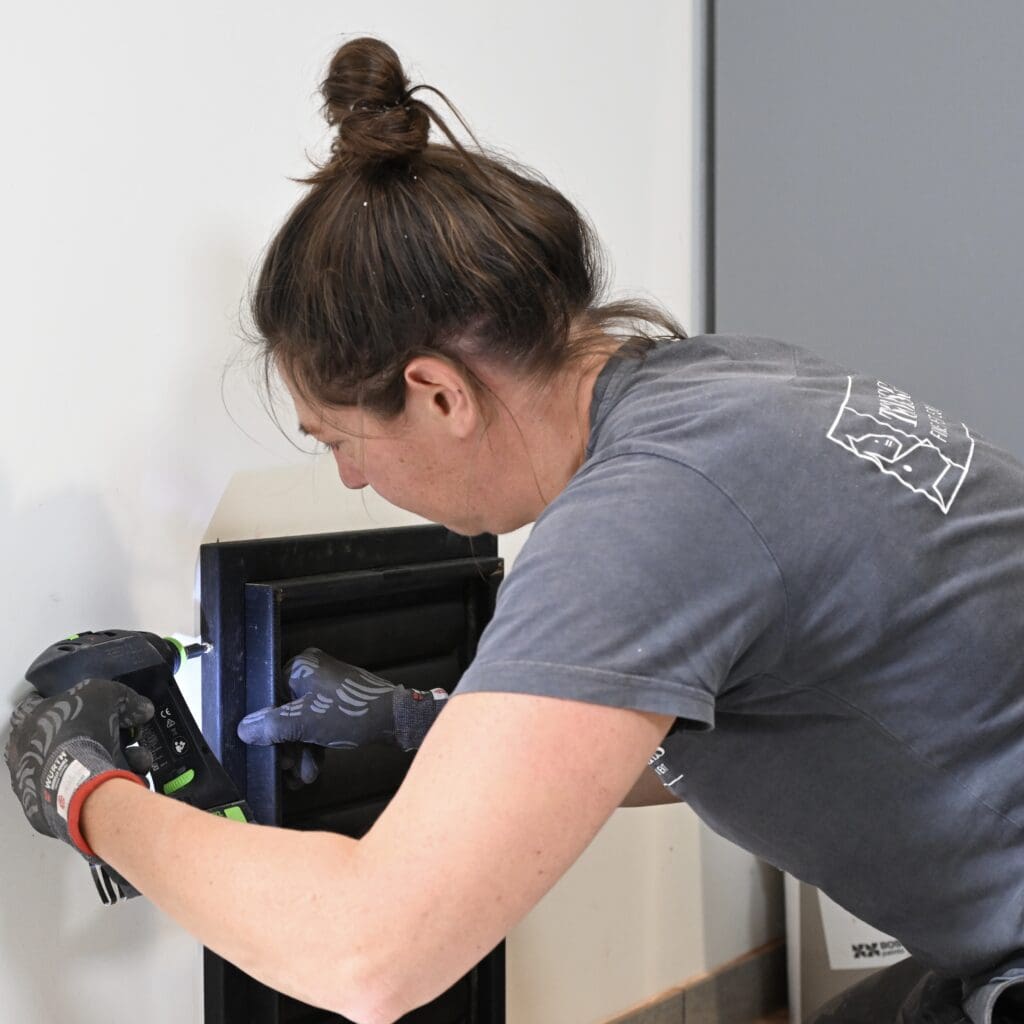
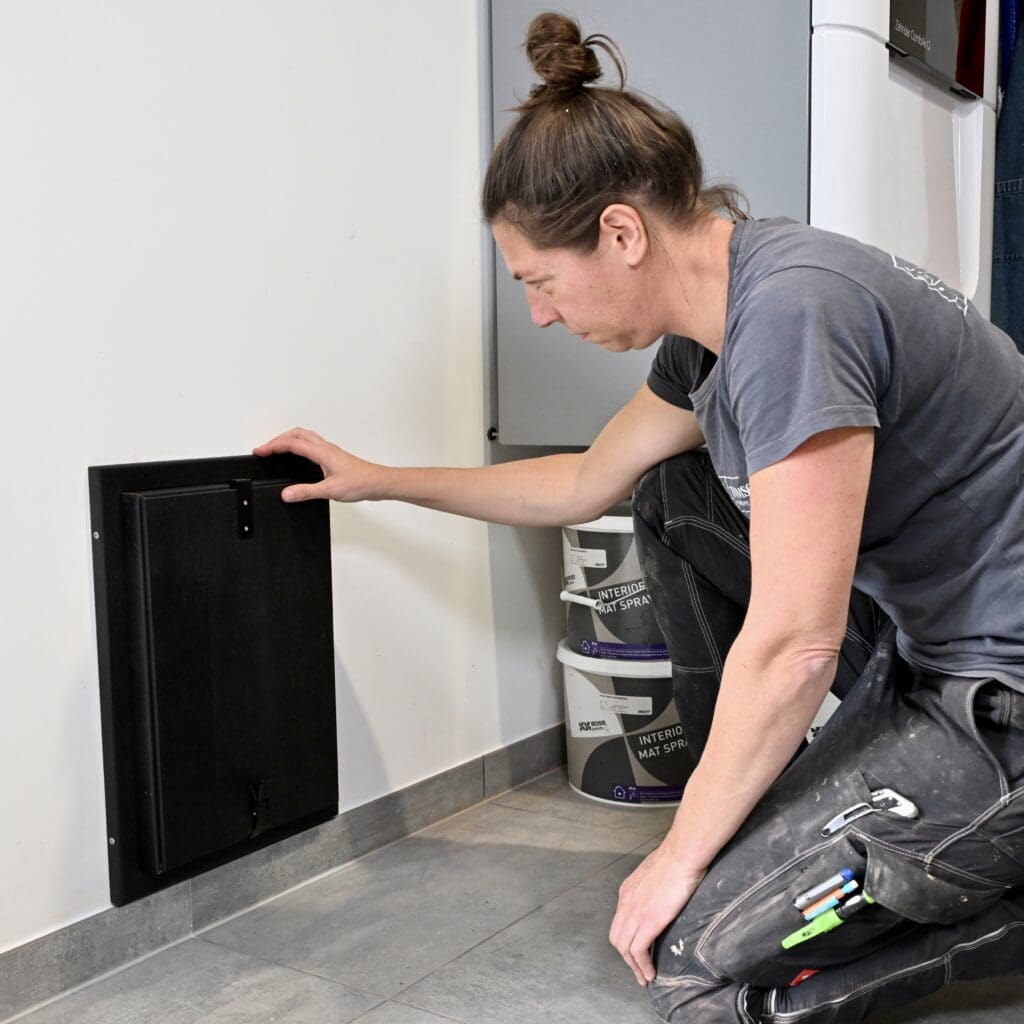
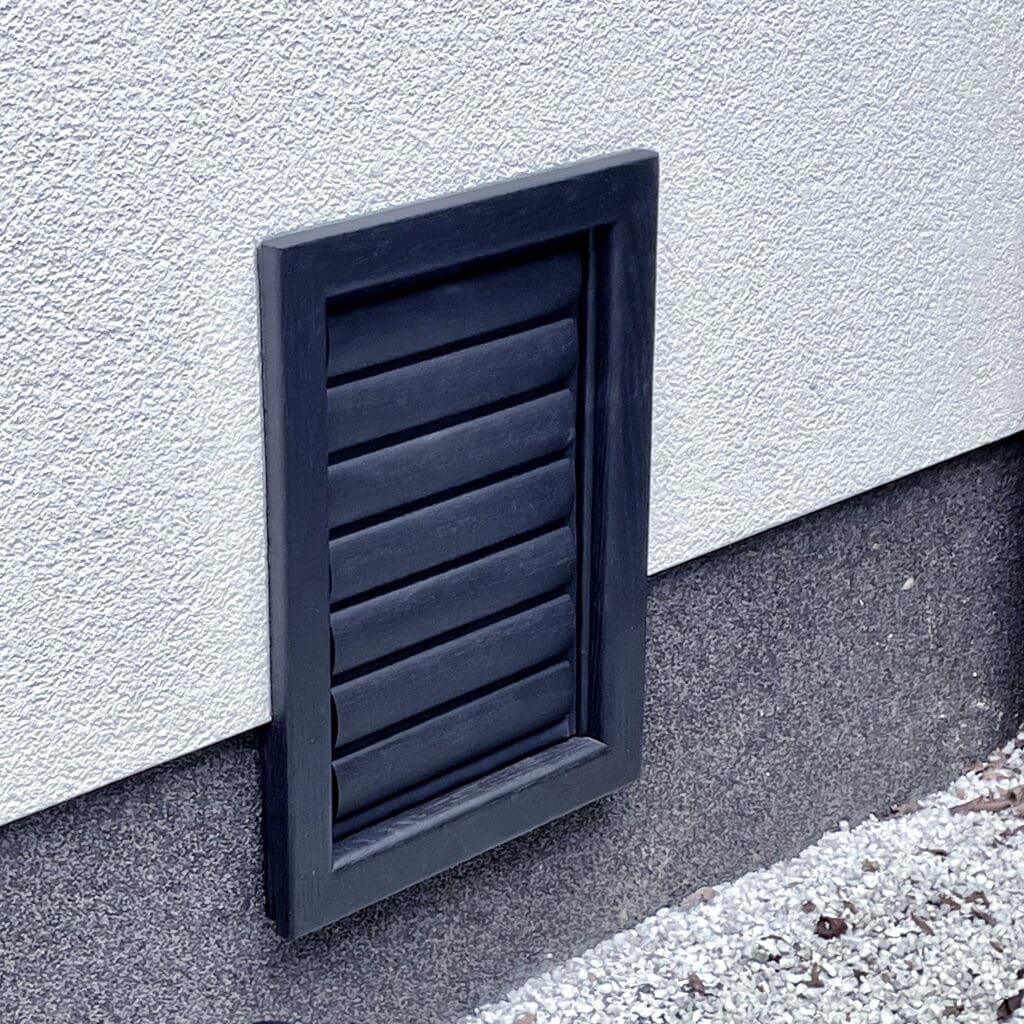
Then it’s time. Slide the door into the wall from the outside and seal it with PU foam, also on the inside wall to prevent draughts from entering from the cavity. Then secure the door with the supplied frame and seal it watertight on the outside with silicone.
💡Apply the silicone sealant very carefully, as the entire wall height above the hatch will drain onto this seal.
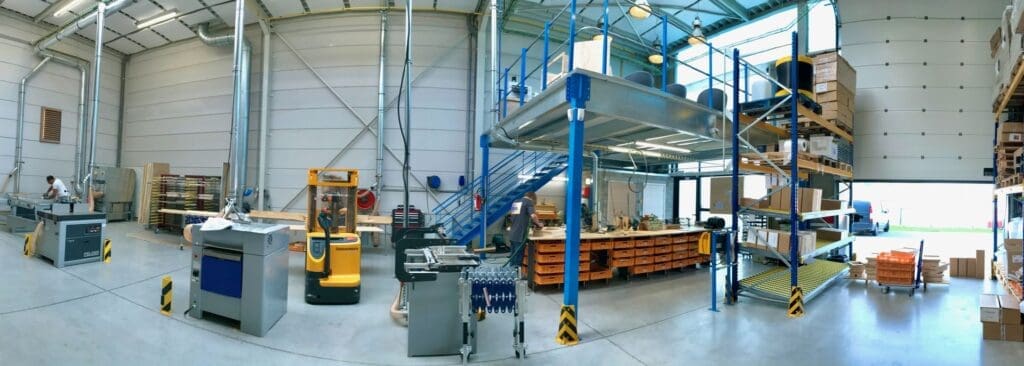
Years of installation experience
We have designed our cat flaps and dog doors ourselves to ensure they are draught-free, secure and quiet. But they were also designed to be easy to install, because we install them ourselves. And now you can benefit from this experience, making installation a pleasant project. Please do contact us if you have any questions or tips of your own!
Finally, check in advance whether permits or surveys are required. Although this is a small wall penetration, in some circumstances (e.g. a front façade, an apartment building, etc.) it is still required.


Discover our latest blog posts.
Technical
A Black dog door or a black cat flap: why choose black?
We have experience with the installation of pet doors since 2013. You are going to make a hole in a door, in a wall or a window, which is quite radical.

Technical
A beautiful wooden cat flap in glass or dog flap in a glass door ?
Om een honden- of kattenluik in enkelglas te plaatsen kan een handige doe-het-zelver nog wel zijn eigen gang gaan.
Technical
How much does a beautiful wooden cat flap or dog door cost?
Our passion: making dog and cat flaps that look good and are of real quality. We are happy to explain why they cost what they do.